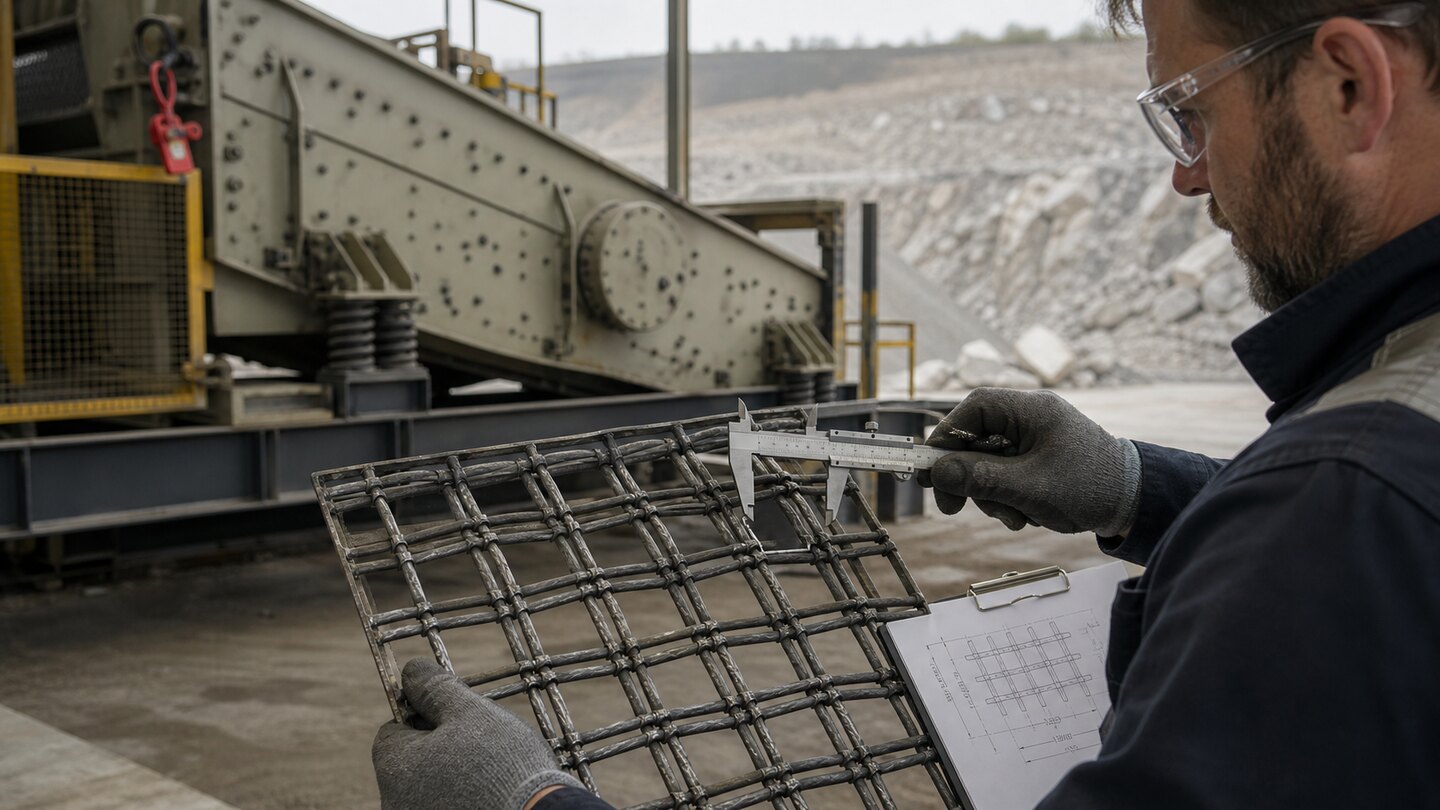
A screen panel is not specified by aperture alone
A quarry maintenance crew removes a worn screen panel and sends a short note to purchasing: “need 8 mm mesh.” The quotation that comes back may be a 8 mm aperture panel, an 8-mesh-per-inch cloth, a square opening panel, a long-slot panel, or a sheet that has no compatible hook or edge treatment. Each interpretation can look plausible until it reaches the vibrating deck.
A better replacement request treats the screening surface, panel dimensions and mounting system as separate facts. For a woven or pre-crimped screen, aperture and wire diameter describe nominal geometry; panel cut size, hook style, tension direction, support arrangement, material and service history determine whether a supplied panel can be installed and evaluated. This guide gives eight practical measurements to record before asking for a replacement quotation.
Use the Woven Wire Mesh Calculator when the screen is a regular square-opening woven construction and mesh count plus wire diameter are known. Use the Open Area Calculator when you have actual X/Y clear openings and wire diameters. These tools calculate stated nominal geometry; they do not select a vibrating-screen panel, predict throughput, certify screening efficiency or replace a machine supplier’s tension and safety instructions.
First identify the panel construction
Woven square-opening cloth
Regular wires interlace to create repeated openings. Mesh count, wire diameter and aperture can be related geometrically when the construction is square opening.
Pre-crimped screen
Wire is formed before weaving so intersections are held in a crimp pattern. The crimp, wire direction and edge construction are part of the panel description.
Long-slot or rectangular opening
X and Y opening dimensions must be recorded separately, together with the orientation of the long dimension on the deck.
Other screening media
Polyurethane, rubber, perforated plate, self-cleaning media and welded panels need construction-specific terminology. Do not force them into a woven-mesh calculator.
The distinction is not cosmetic. ISO’s published scope for ISO 4783-3 covers preferred aperture and wire-diameter combinations for pre-crimped or pressure-welded wire screens, and its abstract lists designation fields in the order aperture width, wire diameter, wire material and type. It is a useful naming guide, not a complete order for a finished vibrating-screen panel. The panel’s dimensions, hooks, tension system, supports and agreed acceptance checks still need to be stated.
Do not copy a used panel’s general appearance into a specification. A screen may have stretched, abraded, blinded, damaged edges or a modification introduced during previous service. Start by preserving the panel identification, photos and installed orientation; then measure the relevant features while the equipment is safely isolated under the site’s own procedure.
The eight measurements and observations to capture
- Nominal aperture in X and Y. Measure the clear opening, not the outside-to-outside span of wire. Record a rectangular opening as two values and note which direction was parallel to material travel.
- Wire diameter in X and Y. Measure a representative unworn section where practical. Abrasion can make a used wire smaller than its original nominal diameter, so label the value as observed unless a data sheet confirms it.
- Construction and crimp. State plain weave, pre-crimped construction, long-slot pattern or another specific construction. Include photos of both faces and a close view of intersections.
- Screening-surface cut size. Record width and length of the actual screen area separately from the total panel size, including any non-screen border.
- Mounting and tension direction. Identify whether the original panel used side tension, end tension, a modular retaining system or another arrangement. State the direction in which the screen is tensioned; do not infer it from a catalog image.
- Hook, edge and formed details. Photograph and measure hook profile, thickness, return, fold, reinforcement, edge strips and cut-out positions. A matching aperture does not make a mismatched hook installable.
- Support and deck interface. Record support-rail direction and spacing, crown or profile where relevant, liners, clamping points, fasteners and any local wear point.
- Service facts and failure mode. State material screened, moisture, approximate feed condition, operating notes available to the purchaser, wear location, blinding, breakage, broken hooks or loss of tension. Do not turn these observations into a service-life guarantee.
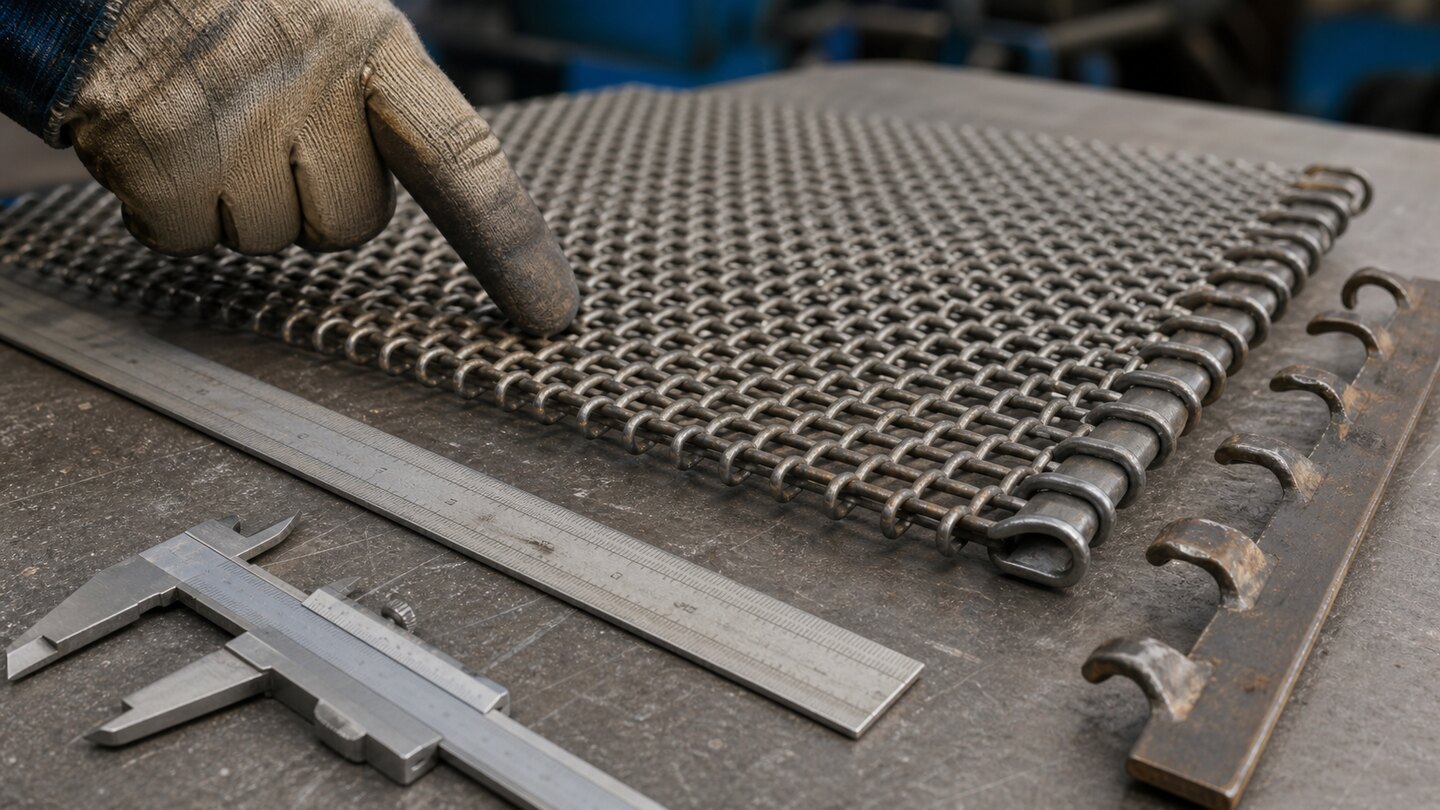
Worked geometry: 8 mm aperture is not “8 mesh”
Suppose the retained record identifies a regular square-opening screen with a nominal 8.00 mm aperture and 1.60 mm wire. For a square woven geometry, pitch is aperture plus wire diameter. The calculated mesh count is the number of pitches in one inch, and the calculated open area is the square of the aperture-to-pitch ratio:
pitch = 8.00 mm + 1.60 mm = 9.60 mm
mesh count = 25.4 ÷ 9.60 = 2.65 openings per inch
geometric open area = (8.00 ÷ 9.60)² × 100 = 69.44%
That panel is therefore approximately 2.65 openings per inch by geometry—not “8 mesh.” If another party interprets “8 mesh” as eight openings per linear inch and retains 1.60 mm wire, its nominal pitch becomes 3.175 mm and its nominal opening becomes 1.575 mm. It is a materially different screen. State the unit beside every value: mm for aperture and wire diameter, openings per inch only when mesh count is actually intended.
Enter 2.65 openings/in and 1.60 mm wire in the Woven Wire Mesh Calculator to reproduce the nominal 8.00 mm geometry. Its open-area result is a transparent check on the described square screen. It does not account for crimp shape, usable deck area, tension, near-size particle behavior, bed depth, feed distribution, vibration settings, material moisture or blinding.
Why an open-area percentage cannot predict screening output
Geometric open area expresses the proportion of an ideal flat projected grid occupied by nominal openings. It can be useful for comparing similar screen constructions, but a real deck responds to far more than that one percentage. Particle shape and distribution, material moisture, feed rate, deck angle, vibration, support conditions, blinding, wear, damaged wire, panel tension and usable area all matter. Two panels with similar calculated open area can have different service behavior.
Use a calculation to make a quotation comparable, then ask the screen or equipment supplier to state the proposed construction and any application basis for its recommendation. When a performance target is important, agree how a representative panel or trial will be evaluated before the purchase order treats a prediction as an acceptance criterion.
Check material and finished mass separately
Material choice should be connected to the actual service conditions—abrasion, corrosion, wash-down, temperature and contamination requirements—not only to a familiar grade name. The Wire Mesh Material Selector helps structure the exposure questions, but it does not replace abrasion testing, corrosion review or the equipment maker’s recommendation for a screening deck.
For the 8.00 mm aperture / 1.60 mm wire square geometry above, the site’s weight tool gives a straight-wire steel estimate of roughly 3.29 kg/m² before crimp, hooks, edge reinforcement, cut-outs, frames, coating and fabrication. Use this as an early handling or freight input only. A finished panel’s mass must be based on its actual drawing and components, not the cloth-only estimate.
Inspect a removed panel without copying its damage
- Label before cleaning or cutting. Photograph the installed orientation, panel identity, hooks, supports and worn areas before the evidence is separated.
- Measure multiple locations. Compare the centre, edges and visibly worn zones. Record the number of observations and the measurement basis; a single opening is not a full acceptance result.
- Keep geometry and damage separate. Note polished wire, broken intersections, plugged openings, stretched regions and deformed hooks as service observations, not original nominal dimensions.
- Confirm the interface. Verify the panel’s total dimensions, hook style, tension direction, support rails and clamp locations against the machine drawing or a competent equipment contact.
- Define the next verification. For a critical replacement, agree a drawing review, sample check or trial with the responsible supplier and equipment owner.
The wire mesh sample measurement guide provides a general recording workflow. For an incoming replacement panel, use the receiving-inspection checklist to organize the paperwork, dimensions and disposition rather than relying on an unlabelled shop-floor photo.
RFQ wording that gives suppliers something they can verify
Attach a dimensioned sketch, marked photos and the old panel’s orientation when available. This illustrative wording creates a clearer starting point than “8 mm screen mesh”:
Screening application and equipment reference: [state];
screen construction: [plain/pre-crimped/other] and opening orientation: [state];
nominal clear aperture: [X] mm × [Y] mm; nominal wire diameter: [X] mm × [Y] mm;
material and finish requirement: [state, or request supplier proposal with basis];
screening-surface size and total panel size: [state separately];
tension system, direction, hook/edge profile, reinforcement, cut-outs and support interface: [attach drawing/photos];
supplier to state proposed construction, tolerances, inspection basis, delivery form and assumptions;
acceptance plan: [drawing approval / sample / representative trial / other].
If material, mounting or screen type is uncertain, submit the photos, dimensions, process duty and the calculation snapshot through Request a Recommendation. That preserves the unknowns for review instead of turning a supplier’s first product code into the de facto specification.
A practical replacement path
- Make the equipment safe and preserve context. Follow the site procedure, document orientation and retain the removed panel’s identity.
- Identify the construction branch. Use square-woven calculations only for a regular square-opening construction; describe pre-crimped, long-slot and other media in their own terms.
- Record aperture and wire with units. Measure X/Y values where applicable, distinguish observed from nominal values and never substitute “mesh” for a millimetre aperture.
- Capture the interface. Add total size, screening area, hooks, tension direction, supports, clamps and edge treatment.
- Compare proposals by evidence. Align the proposed geometry, material, construction, drawing, tolerance, delivery form and validation plan before comparing price.
Frequently asked questions
Can I order a vibrating screen by aperture only?
Not reliably. Aperture does not state wire diameter, construction, panel size, edge treatment, tension system, support interface, material or orientation. Include these items in the RFQ or ask the supplier to state what it is assuming.
Is 8 mm aperture the same as 8 mesh?
No. In a square woven geometry, 8.00 mm aperture with 1.60 mm wire is about 2.65 openings per inch. “8 mesh” normally describes a count per linear inch and represents a different geometry.
Will a higher calculated open area always improve capacity?
No. Open area is only a geometric comparison. Screening behavior also depends on the material, feed, equipment settings, panel condition, tension, blinding, usable area and operating conditions.
Can the calculator determine the right hook style?
No. Hook and edge details are equipment-interface dimensions. Record them from the panel and machine documentation, then have the responsible supplier confirm the proposed finished panel.
Does the ISO guide certify my installed screen?
No. It helps define aperture/wire combinations and designation fields within its scope. A specific installed panel still needs its drawing, mounting requirements and agreed acceptance checks.